
When you personal a Mac, you know the way simple it’s to navigate and discover any file or app you want.
Even should you’ve been a Home windows person your complete life, Apple has made it very easy to only choose up a Mac and begin utilizing it.
And that is partly because of Mac’s Finder. This fast and highly effective “smiling face app” is Apple’s file supervisor, and you should utilize it to seek out and handle all of your recordsdata or apps.
Nonetheless, there are a lot of extra issues Finder can do — that you simply in all probability haven’t even tried. Listed below are a number of ideas and methods to get you began.
1. Use Your Keyboard to Navigate Extra Shortly
Once you open Finder, you can begin opening any folder you need by merely double-clicking it. Likewise, if you wish to return, all it is advisable to do is click on the again arrow close to the highest of the Finder’s window.
However there’s a good sooner method to navigate your folders along with your keyboard. All it is advisable to do is choose the folder or file you need and press the Command + down arrow keys.
It will mechanically open the folder or file you chose. Furthermore, if you wish to return to the earlier web page, all it is advisable to do is press the Command + up arrow keys.
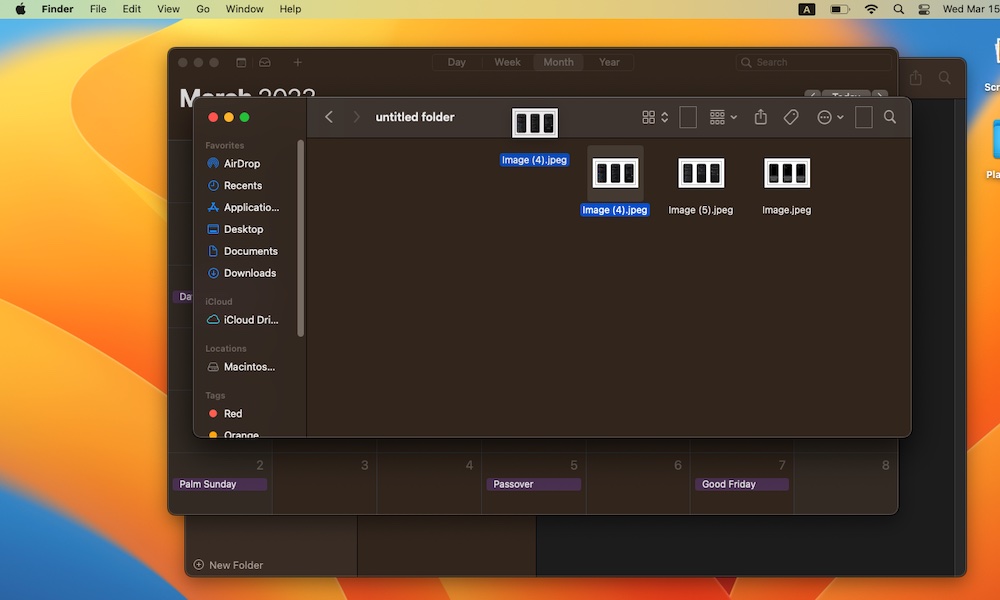
In fact, there are different keyboard shortcuts it’s best to learn about. For example, if you wish to shortly preview a photograph or doc, all it is advisable to do is choose it and press the area bar.
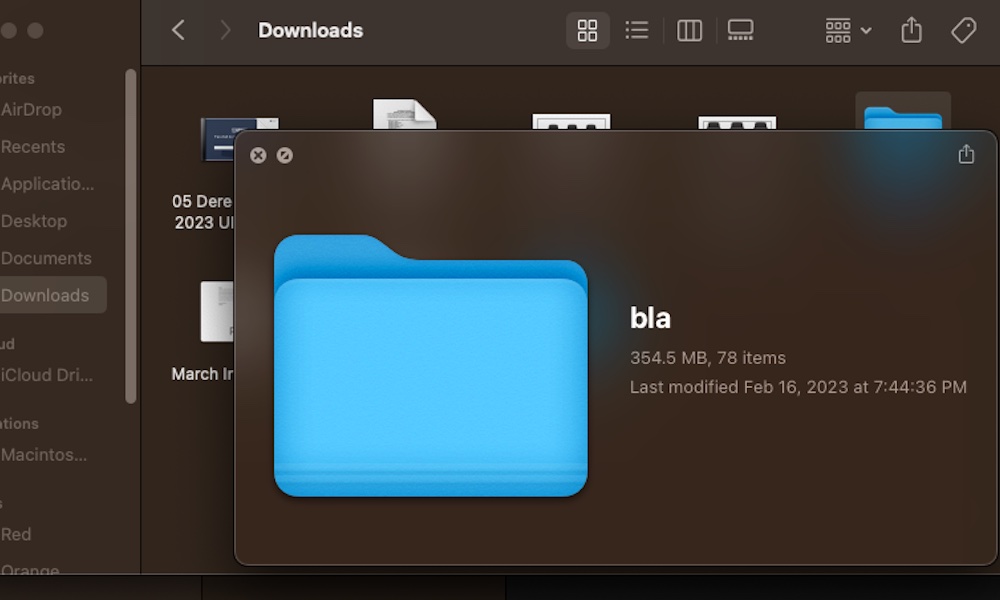
A brand new window will pop up with a small preview of the file or with some primary details about the folder you chose. To shut that window, all it is advisable to do is press the area bar yet one more time.
Final however not least, if you wish to rename a file, you are able to do it nearly immediately by urgent the return key in your keyboard.
2. Create Your Personal Shortcuts in Finder
Finder makes it fairly simple to seek out all of the folders or paperwork you need, however you probably have some folders you’re at all times searching for, you’ll be able to add them as a shortcut to your Finder’s toolbar.
All it is advisable to do is press and maintain the Command key and drag the file or folder along with your mouse to the toolbar on the prime of the Finder’s window. After you launch it, you’ll see an icon representing your new shortcut.
If you wish to take away it from the toolbar, all it is advisable to do is press and maintain the Command key, drag the folder or file out of the toolbar after which launch it.
3. Shortly Preview Your Information Earlier than Opening Them
As we talked about earlier than, you may get a preview of any file earlier than really opening it. There are literally two methods you are able to do this.
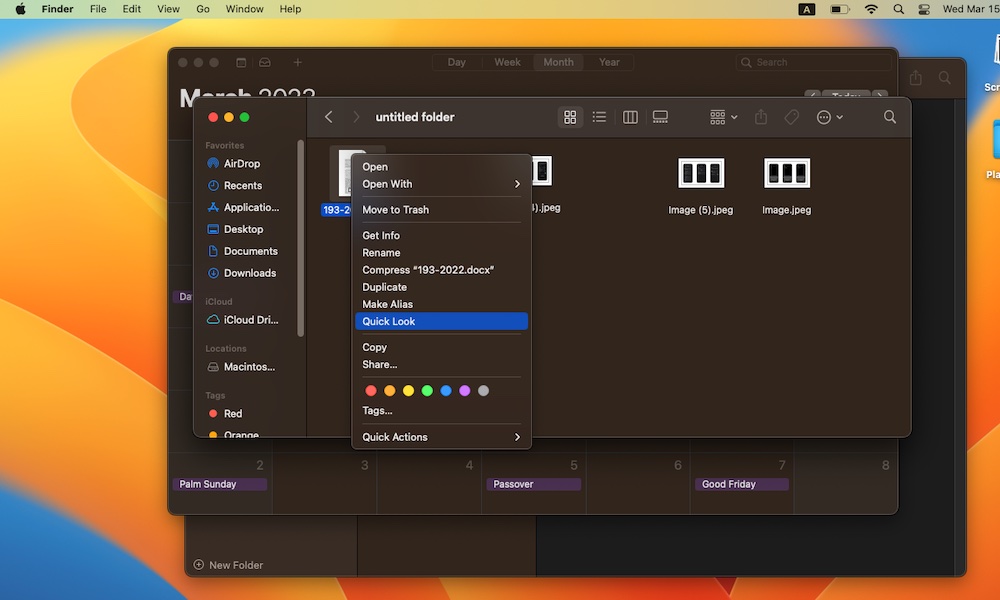
First, all it is advisable to do is choose the file and press the area bar. Or, if you wish to use your mouse, you’ll be able to control-click (right-click should you’re extra of a Home windows person) after which choose Fast Look. If you wish to open the file, you’ll see the choice Open with within the prime proper nook of the preview window.
4. Immediately Convert Any Picture
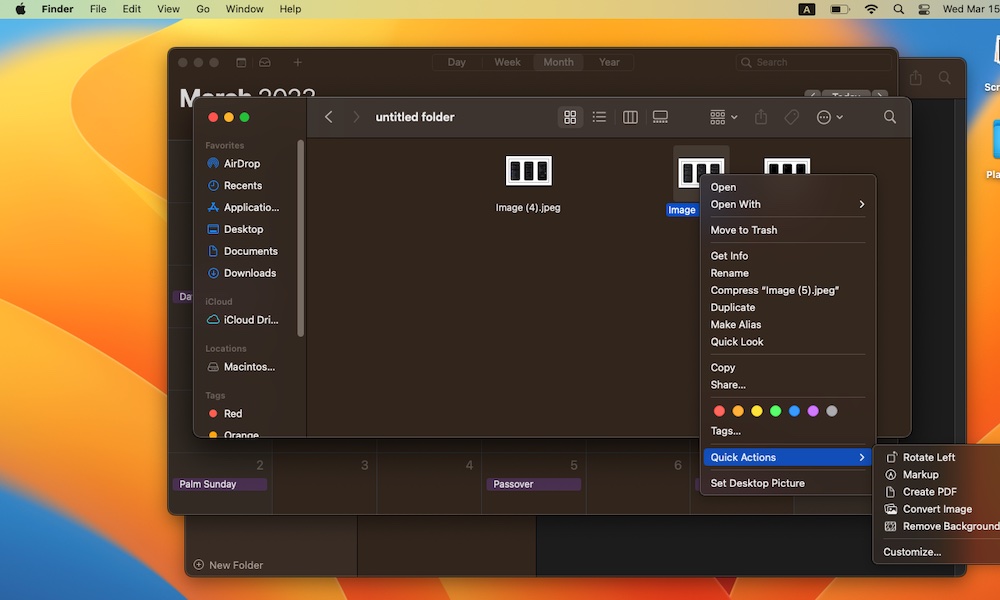
There are numerous picture codecs, and never each platform or web site accepts all of them. For example, you may must add a PNG picture, however you saved it as a JPEG file. Or, possibly you wish to share this picture as a PDF as an alternative.
Regardless of the case, your Mac’s Finder has a fast resolution for you. All it is advisable to do is choose the picture you need and control-click (right-click) it. Then, choose Fast Actions close to the underside of the choices menu, and eventually, choose Create a PDF or Convert Picture. If you choose the previous, you’ll immediately see a brand new PDF file along with your picture.
If you choose Convert Picture, you’ll see a brand new window the place it is advisable to choose the format and picture measurement you need. When you’re executed, click on Convert to adopted by the format you selected.
5. Take away the Background of Any Picture Immediately
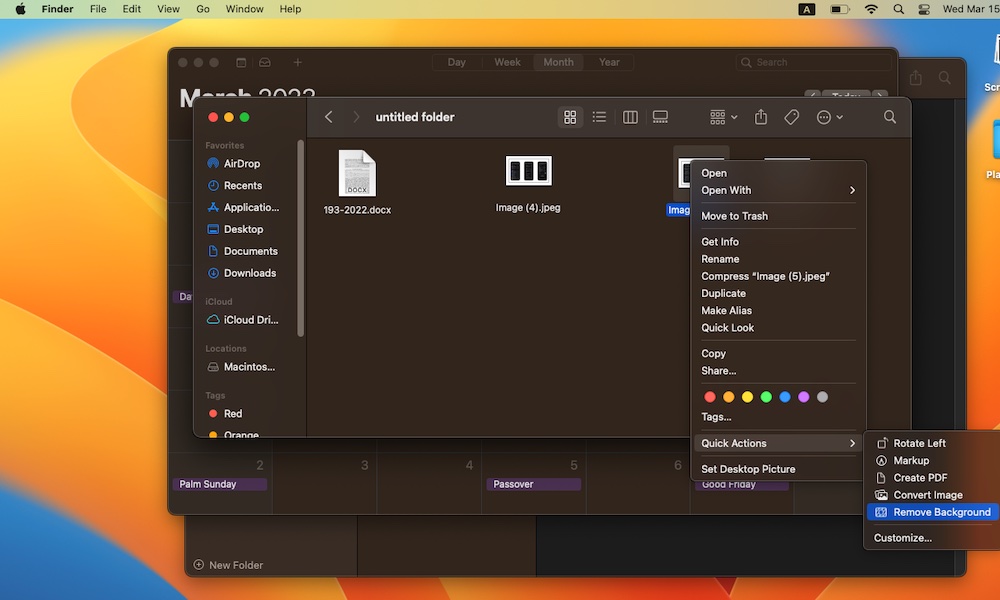
One other cool trick you’ll be able to strive along with your photographs is eradicating their background. Finder might help you take away the background of any picture with only a few clicks. That is what it is advisable to do:
- Choose the picture you need and control-click (right-click) it.
- Choose Fast Actions.
- Click on Take away Background.
And that’s it. And don’t fear about messing up your picture; as an alternative of eradicating the background of the unique picture, your Mac will create a duplicate with the background eliminated.
6. Customise Your Finder’s Sidebar
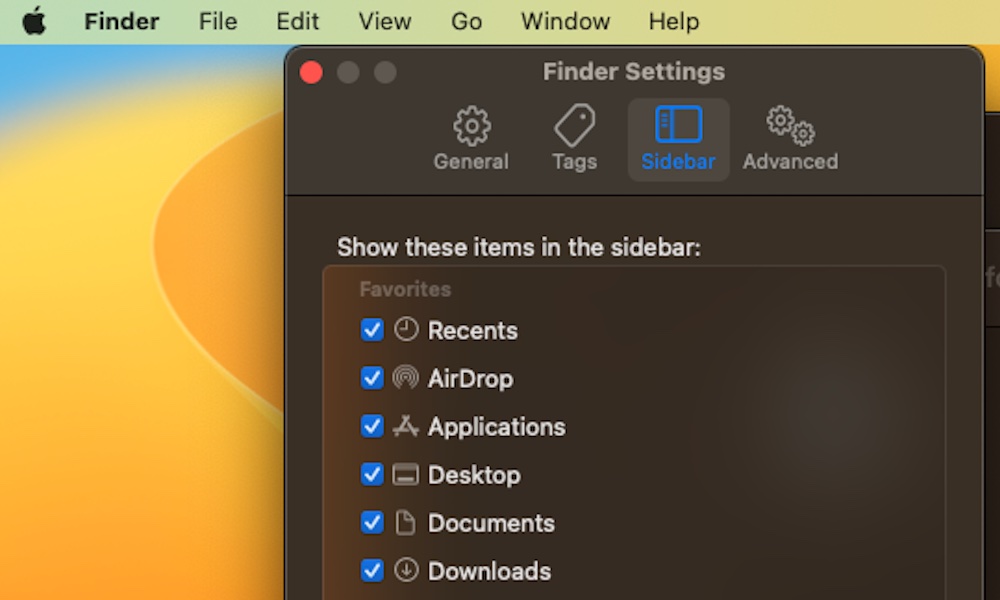
By default, the Finder’s sidebar already has numerous shortcuts to get you began, however you’ll be able to additional customise it to indicate different helpful folders and places by doing this:
- Open Finder.
- Click on Finder within the prime left nook of your display screen.
- Go to Settings.
- Click on the Sidebar tab on the prime of the window.
- Choose all of the objects you need in your sidebar.
7. Customise Your Finder’s Toolbar
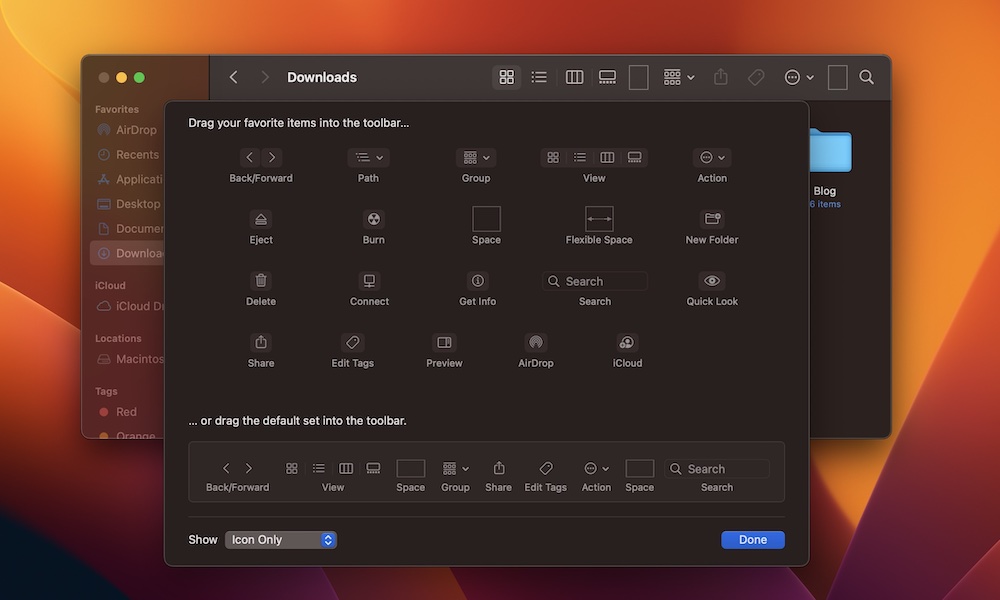
Including shortcuts to your sidebar isn’t the one method to customise it; there are additionally many different motion buttons and objects you’ll be able to add to your toolbar in a flash.
- First, open Finder.
- Management-click (right-click) the Finder’s toolbar and choose Customise toolbar.
- You’ll see a brand new window with all of the objects you’ll be able to add. All it is advisable to do is drag and drop them in your toolbar. Likewise, if you wish to take away an merchandise, you’ll want to tug it out of the toolbar.
- When you end, click on Performed within the backside proper nook of your display screen.
You’ll be able to strive as many combos as you need, however should you resolve you wish to return to the unique look, you’ll be able to drag the default toolbar from the underside of the display screen and add it to your toolbar to return to the start.
8. Use Tags to Set up Your Information
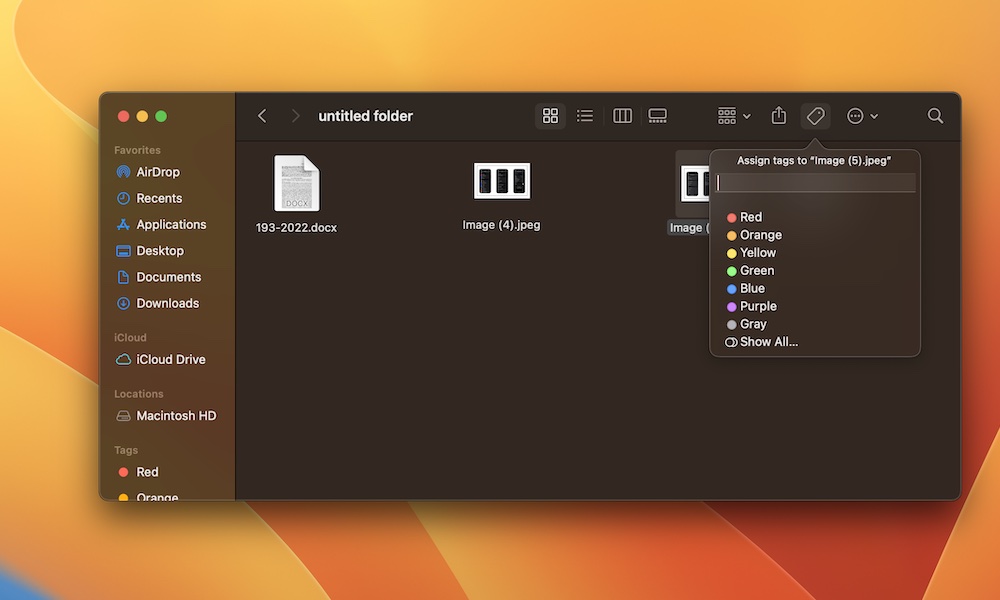
Finder has a listing of many various tags you should utilize to arrange your folders and recordsdata. Once you open Finder, you could find the listing of default tags on the backside of your sidebar. That is fairly helpful should you handle too many recordsdata directly, and it’ll assist you hold your self organized.
However, to take advantage of out of tags, you’ll want so as to add them to your recordsdata manually. Begin by choosing a file in Finder, after which click on the Tag button within the prime proper nook of the Finder’s window.
Lastly, choose the tag you wish to use. You should use coloration tags or click on Present All to see the opposite Residence, Vital, and Work tags.
Lastly, as we talked about earlier than, you’ll be able to scroll down in your sidebar and choose the tag you wish to discover the recordsdata which have that tag.
Grasp Your Mac’s Finder
At first look, Finder may appear like every other file administration instrument, however it’s bought numerous totally different methods up its sleeve that will help you keep organized and alter your recordsdata in a matter of seconds.
The following tips will assist you use Finder correctly, and when you begin making essentially the most out of it, you’ll by no means wish to return to only utilizing it to seek out and think about your recordsdata.
If you wish to be taught extra ideas in your Mac, go to our macOS devoted how-to part right here.